Every woodworker has a “first project” story — and almost every one of those stories includes a few painful lessons. A piece that warps overnight. A finish that turns out blotchy. A miter joint that absolutely refuses to close. The good news? Almost all of these moments are caused by the same handful of mistakes — and once you know what to watch for, you can skip past most of them entirely.
Thank you for reading this post, don’t forget to subscribe!
Whether you’re sanding your first cutting board, building a simple shelf, or attempting a small box, here are five beginner woodworking mistakes that trip up nearly everyone — plus exactly how to avoid them on your first try.
Why Beginners Get Discouraged (Hint: It’s Almost Never Talent)
Most people who quit woodworking early don’t quit because they “weren’t good at it.” They quit because their first piece looked rough, splintery, or warped — and they assumed that was the ceiling of their ability. It almost never is. The first project simply suffered from one or two avoidable technique mistakes that made the wood fight back instead of cooperate.
Master these five fundamentals, and your very first piece will look surprisingly close to something you’d be proud to gift.
Mistake 1: Buying the Wrong Wood (or the Wrong Cut of It)
Walking into a big-box store and grabbing the cheapest pine 1×6 is the most common beginner mistake — and it sets you up to fail before you’ve even made a cut.
What to do instead:
- Skip “construction grade” lumber for fine projects. The 2x4s and 1x6s in the lumber aisle are kiln-dried for framing, not finishing. They’re often wet, knotted, and prone to warping the moment you bring them home into a heated space.
- Look for hardwood at a real lumber yard. Even a small hardwood store will sell you a single board of maple, walnut, or acacia at beginner-friendly prices. The grain is tighter, the wood is more stable, and it finishes beautifully.
- Check the moisture content. Properly dried hardwood for indoor use should be 6–8% moisture. If your lumber yard has a moisture meter, ask. If they don’t have one, it’s not a real lumber yard.
The boards you admire on our best sellers page — like the Long Acacia Cutting Board with Handle — start with hand-selected acacia precisely because it has the dense, stable grain that holds up for decades.
Mistake 2: Skipping the “Read the Grain” Step
Wood has direction. If you sand, plane, or cut against the grain, the surface tears out, splinters, and looks fuzzy no matter how much you sand later. Almost every “rough” beginner finish comes from working against the grain without realizing it.
How to read the grain in 10 seconds:
- Look at the side of the board. Notice how the grain lines arc and flow in one direction.
- Run your finger along the surface in both directions. One way will feel smooth; the other will feel slightly resistant or “fuzzy.”
- Always sand, plane, and cut with the smooth direction.
If your grain reverses partway across a board (common in figured woods), drop down to a finer-grit sandpaper for that section and use lighter pressure.
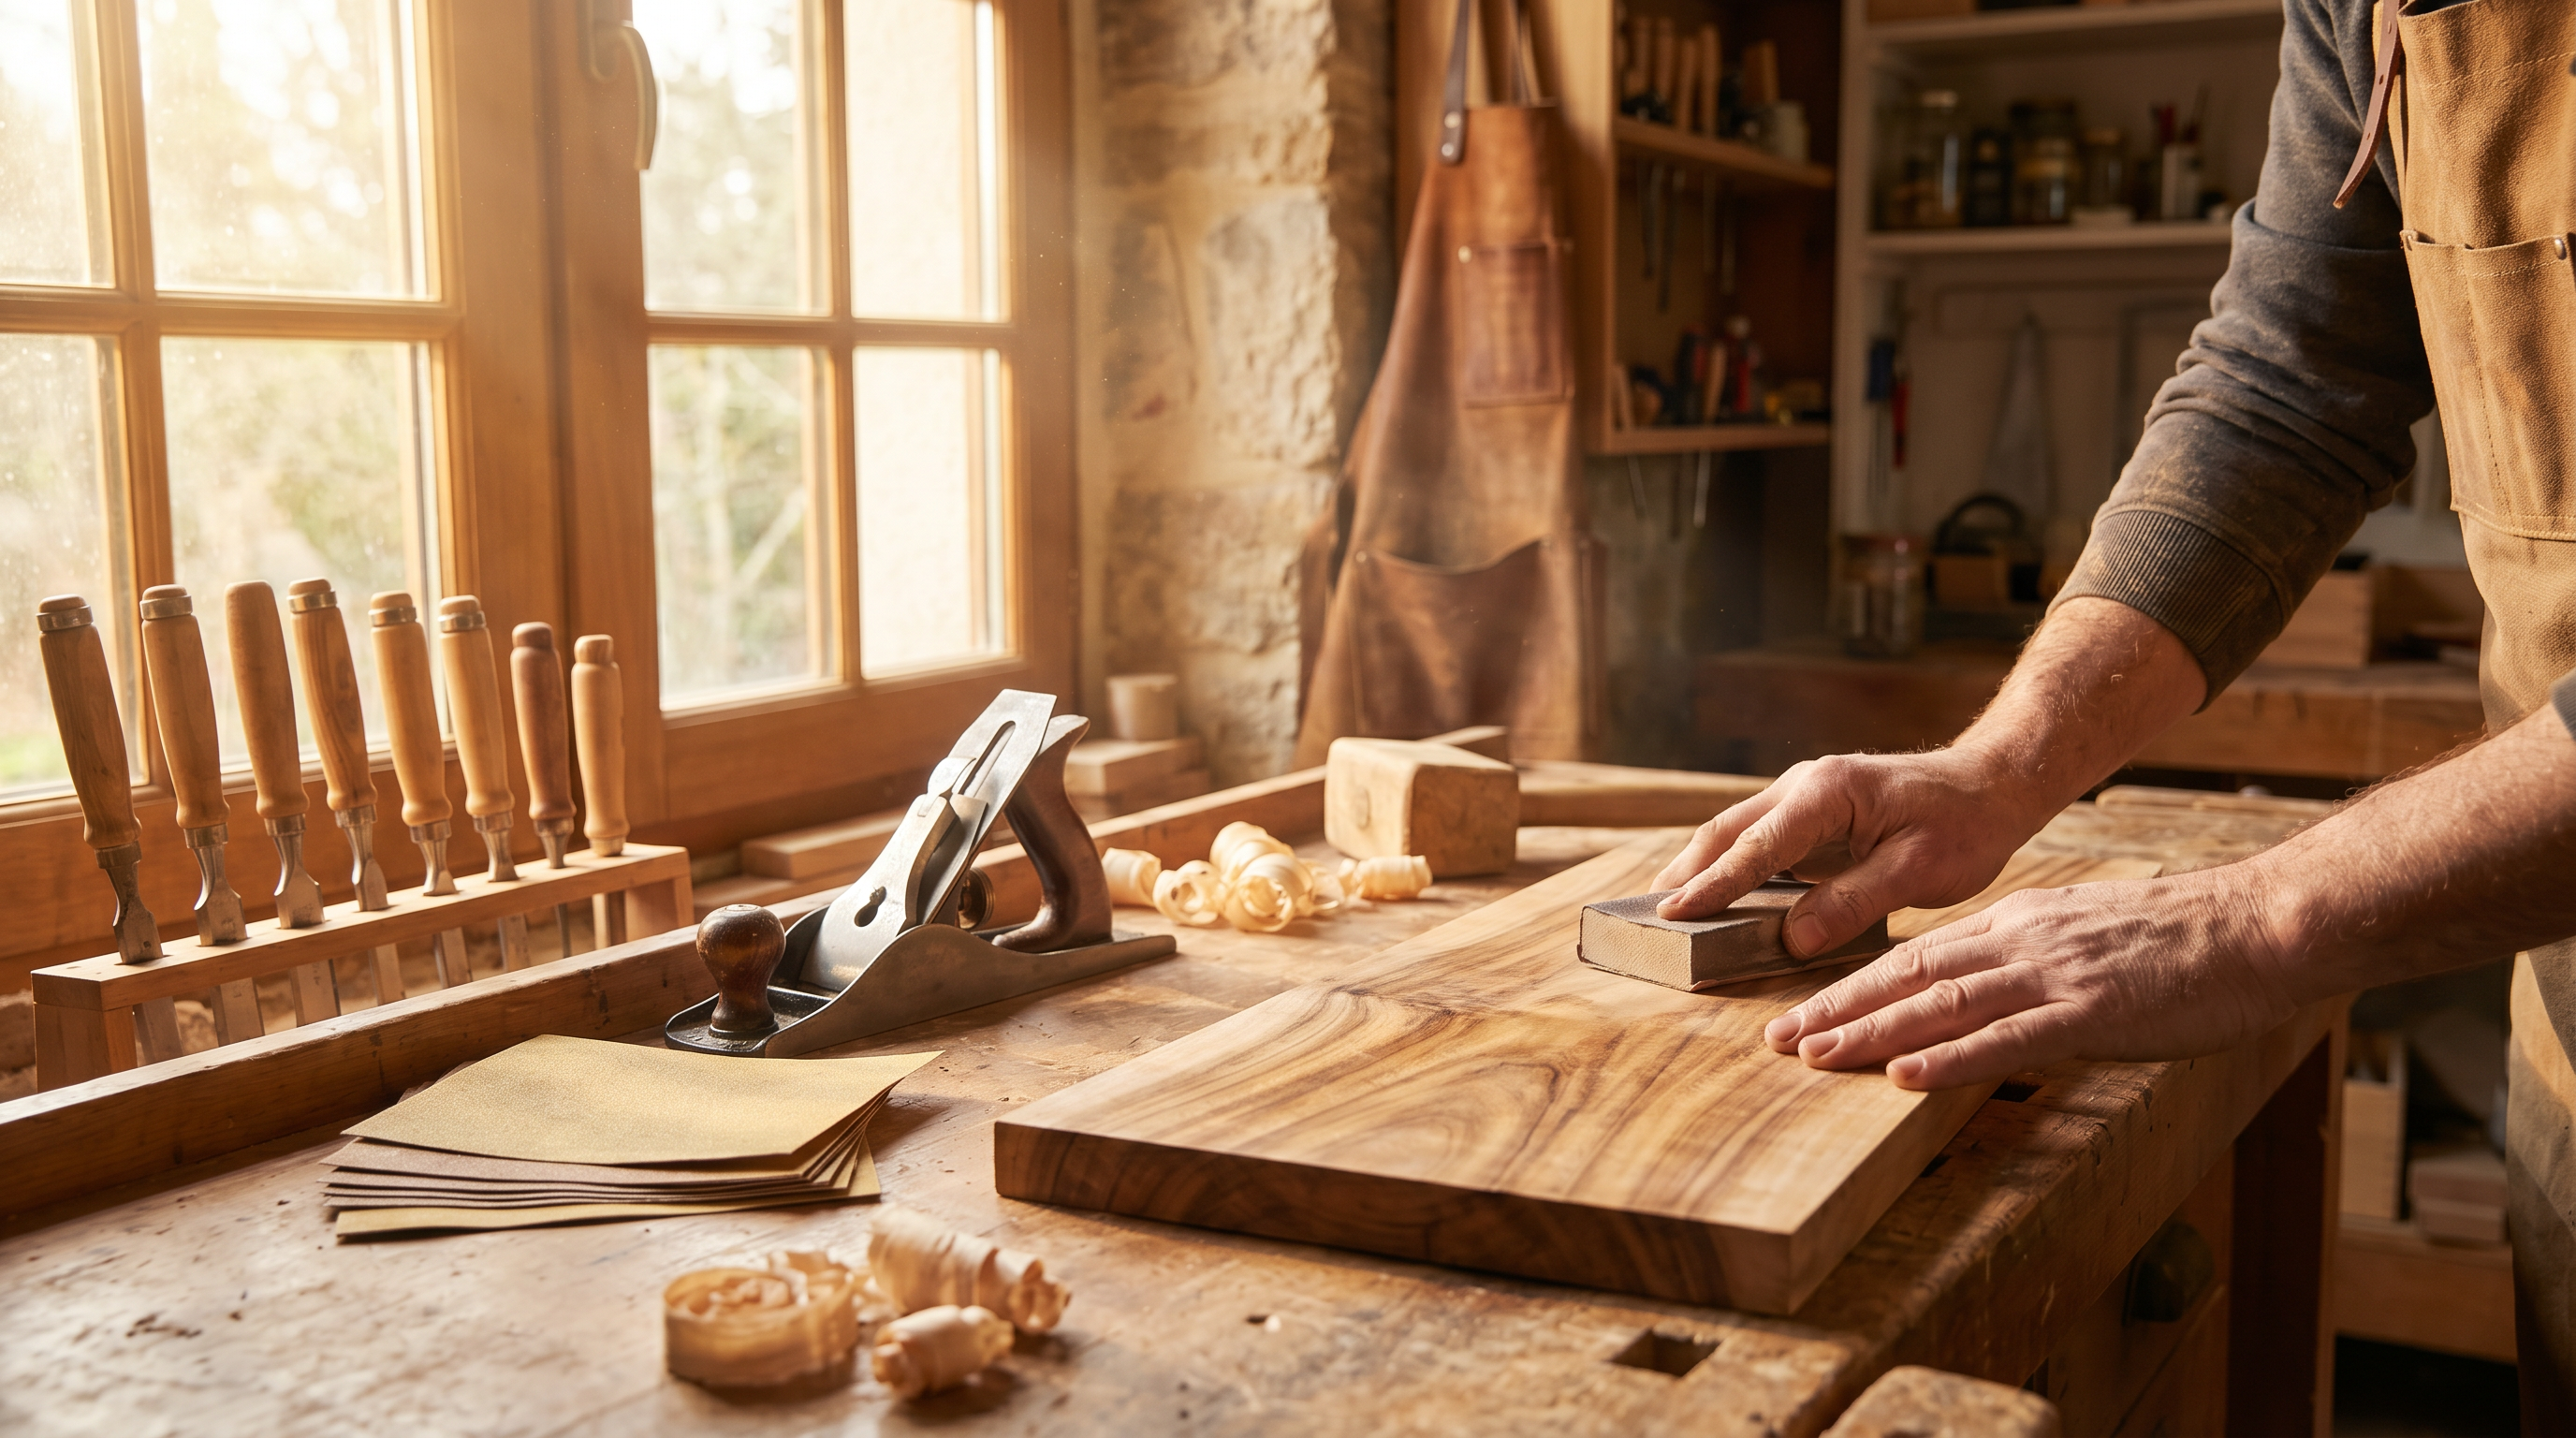
Mistake 3: Sanding Too Aggressively, Too Quickly
The sanding section is where most beginners ruin a piece they were doing well on. Two specific errors:
Skipping Grits
Going straight from 80-grit to 220-grit leaves deep scratches the finer paper can’t remove. They show up the moment you apply finish — as little dark lines all over the surface.
The correct progression: 80 → 120 → 180 → 220. Don’t skip a step. Each grit removes the scratches left by the previous one.
Pressing Too Hard
Sandpaper works by abrasion, not pressure. Heavy pressure clogs the paper, generates heat that can burn the wood, and leaves swirl marks that show up clearly under finish. Let the paper do the work — light, even passes, always with the grain.
One more tip: after your final sanding pass, wipe the wood down with a damp cloth. Let it dry overnight. The water “raises the grain” — bringing up tiny fibers that would otherwise stand up the moment finish hits the surface. Sand once more lightly with 220-grit and you’ll get that glass-smooth feel that defines fine woodworking.
Mistake 4: Choosing the Wrong Finish for the Job
Beginners often default to whatever finish is on the shelf — usually a polyurethane that looks plastic-y and yellows over time. The right finish depends on what the piece will actually do.
- For cutting boards or anything food-contact: food-grade mineral oil followed by a beeswax board cream. Never polyurethane, never cooking oils. (We wrote a complete guide on this in our wood cutting board care article.)
- For shelves and decor: a hard-wax oil (like Osmo or Rubio Monocoat) gives you a soft, hand-rubbed look that highlights the grain without the plastic feel of poly.
- For high-traffic furniture: a wipe-on polyurethane in satin or matte finish — applied in three thin coats with a light sand between — is forgiving and durable.
Whatever you choose, apply it in thin coats. Thick finish coats trap bubbles, dry unevenly, and pool in corners. Three thin coats always beat one thick one.
Mistake 5: Rushing the Glue-Up
If your project involves joining two pieces of wood, glue-ups are where rushed beginners create permanent problems. The two big errors:
Not Doing a Dry Fit First
Always assemble the pieces with clamps before any glue is involved. A dry fit catches misaligned joints, gaps, and clamp problems while you can still fix them. Once glue is on the wood, you have about five minutes before everything sets up.
Using Too Much Glue
Wood glue squeezing out of every joint isn’t a sign of a strong bond — it’s a sign of waste and a lot of cleanup. A thin, even layer is plenty. Wood glue creates joints that are stronger than the wood itself, even with very small amounts.
Wipe off any squeeze-out with a slightly damp rag immediately. Dried glue creates dark spots when finish goes on later — and sanding them out usually means starting that section over.
The One Habit That Changes Everything
If we could give a beginner woodworker just one piece of advice, it would be this: slow down by 30%. Almost every mistake on this list comes from rushing — rushing the wood selection, rushing the sanding progression, rushing the glue-up. Wood rewards patience like almost no other craft.
Your first project doesn’t need to be a furniture-grade heirloom. A simple cutting board, a shaker-style shelf, or a small wooden box is plenty. Pick a manageable design, follow the five rules above, and you’ll end up with something you’re genuinely proud to display — or gift.
When You’d Rather Skip the Learning Curve
Building your own pieces is rewarding — but it’s not always practical. If you’re shopping for a gift, a personalized keepsake, or simply want a piece made by people who’ve already worked through every mistake on this list, every board and shelf in our shop is hand-finished in Lincoln, California using exactly these techniques.
Browse our best sellers for the pieces customers reach for most often, or explore our handcrafted bathroom shelves and personalized cutting boards — each one made with the same patient, grain-respecting techniques every beginner woodworker eventually learns to love.
Whether you build it yourself or let us, the magic of solid wood is the same: a piece that gets more beautiful every year, with just a little care.