You’ve seen them on Instagram and Pinterest a hundred times — those gorgeous charcuterie boards with cascading meats, perfectly placed cheese wedges, and little ramekins of jam tucked between figs and rosemary sprigs. The good ones look like edible art. The bad ones look like a sad cheese plate from a hotel buffet.
Thank you for reading this post, don’t forget to subscribe!
The difference isn’t the budget. It isn’t even the ingredients. It’s a handful of styling rules that professional grazing-board makers use every single time — and once you know them, you can build a magazine-worthy charcuterie board in about twenty minutes for any gathering. Here are five rules that change everything.
Start with the Board (It’s 50% of the Magic)
Before we talk about food, we have to talk about the canvas. A small plastic platter or a flat ceramic plate will never photograph well — there’s nothing for the eye to land on around the food. A handcrafted wooden board, on the other hand, frames everything. The grain reads as warmth. The edges read as intentional.
The two best wooden boards for charcuterie:
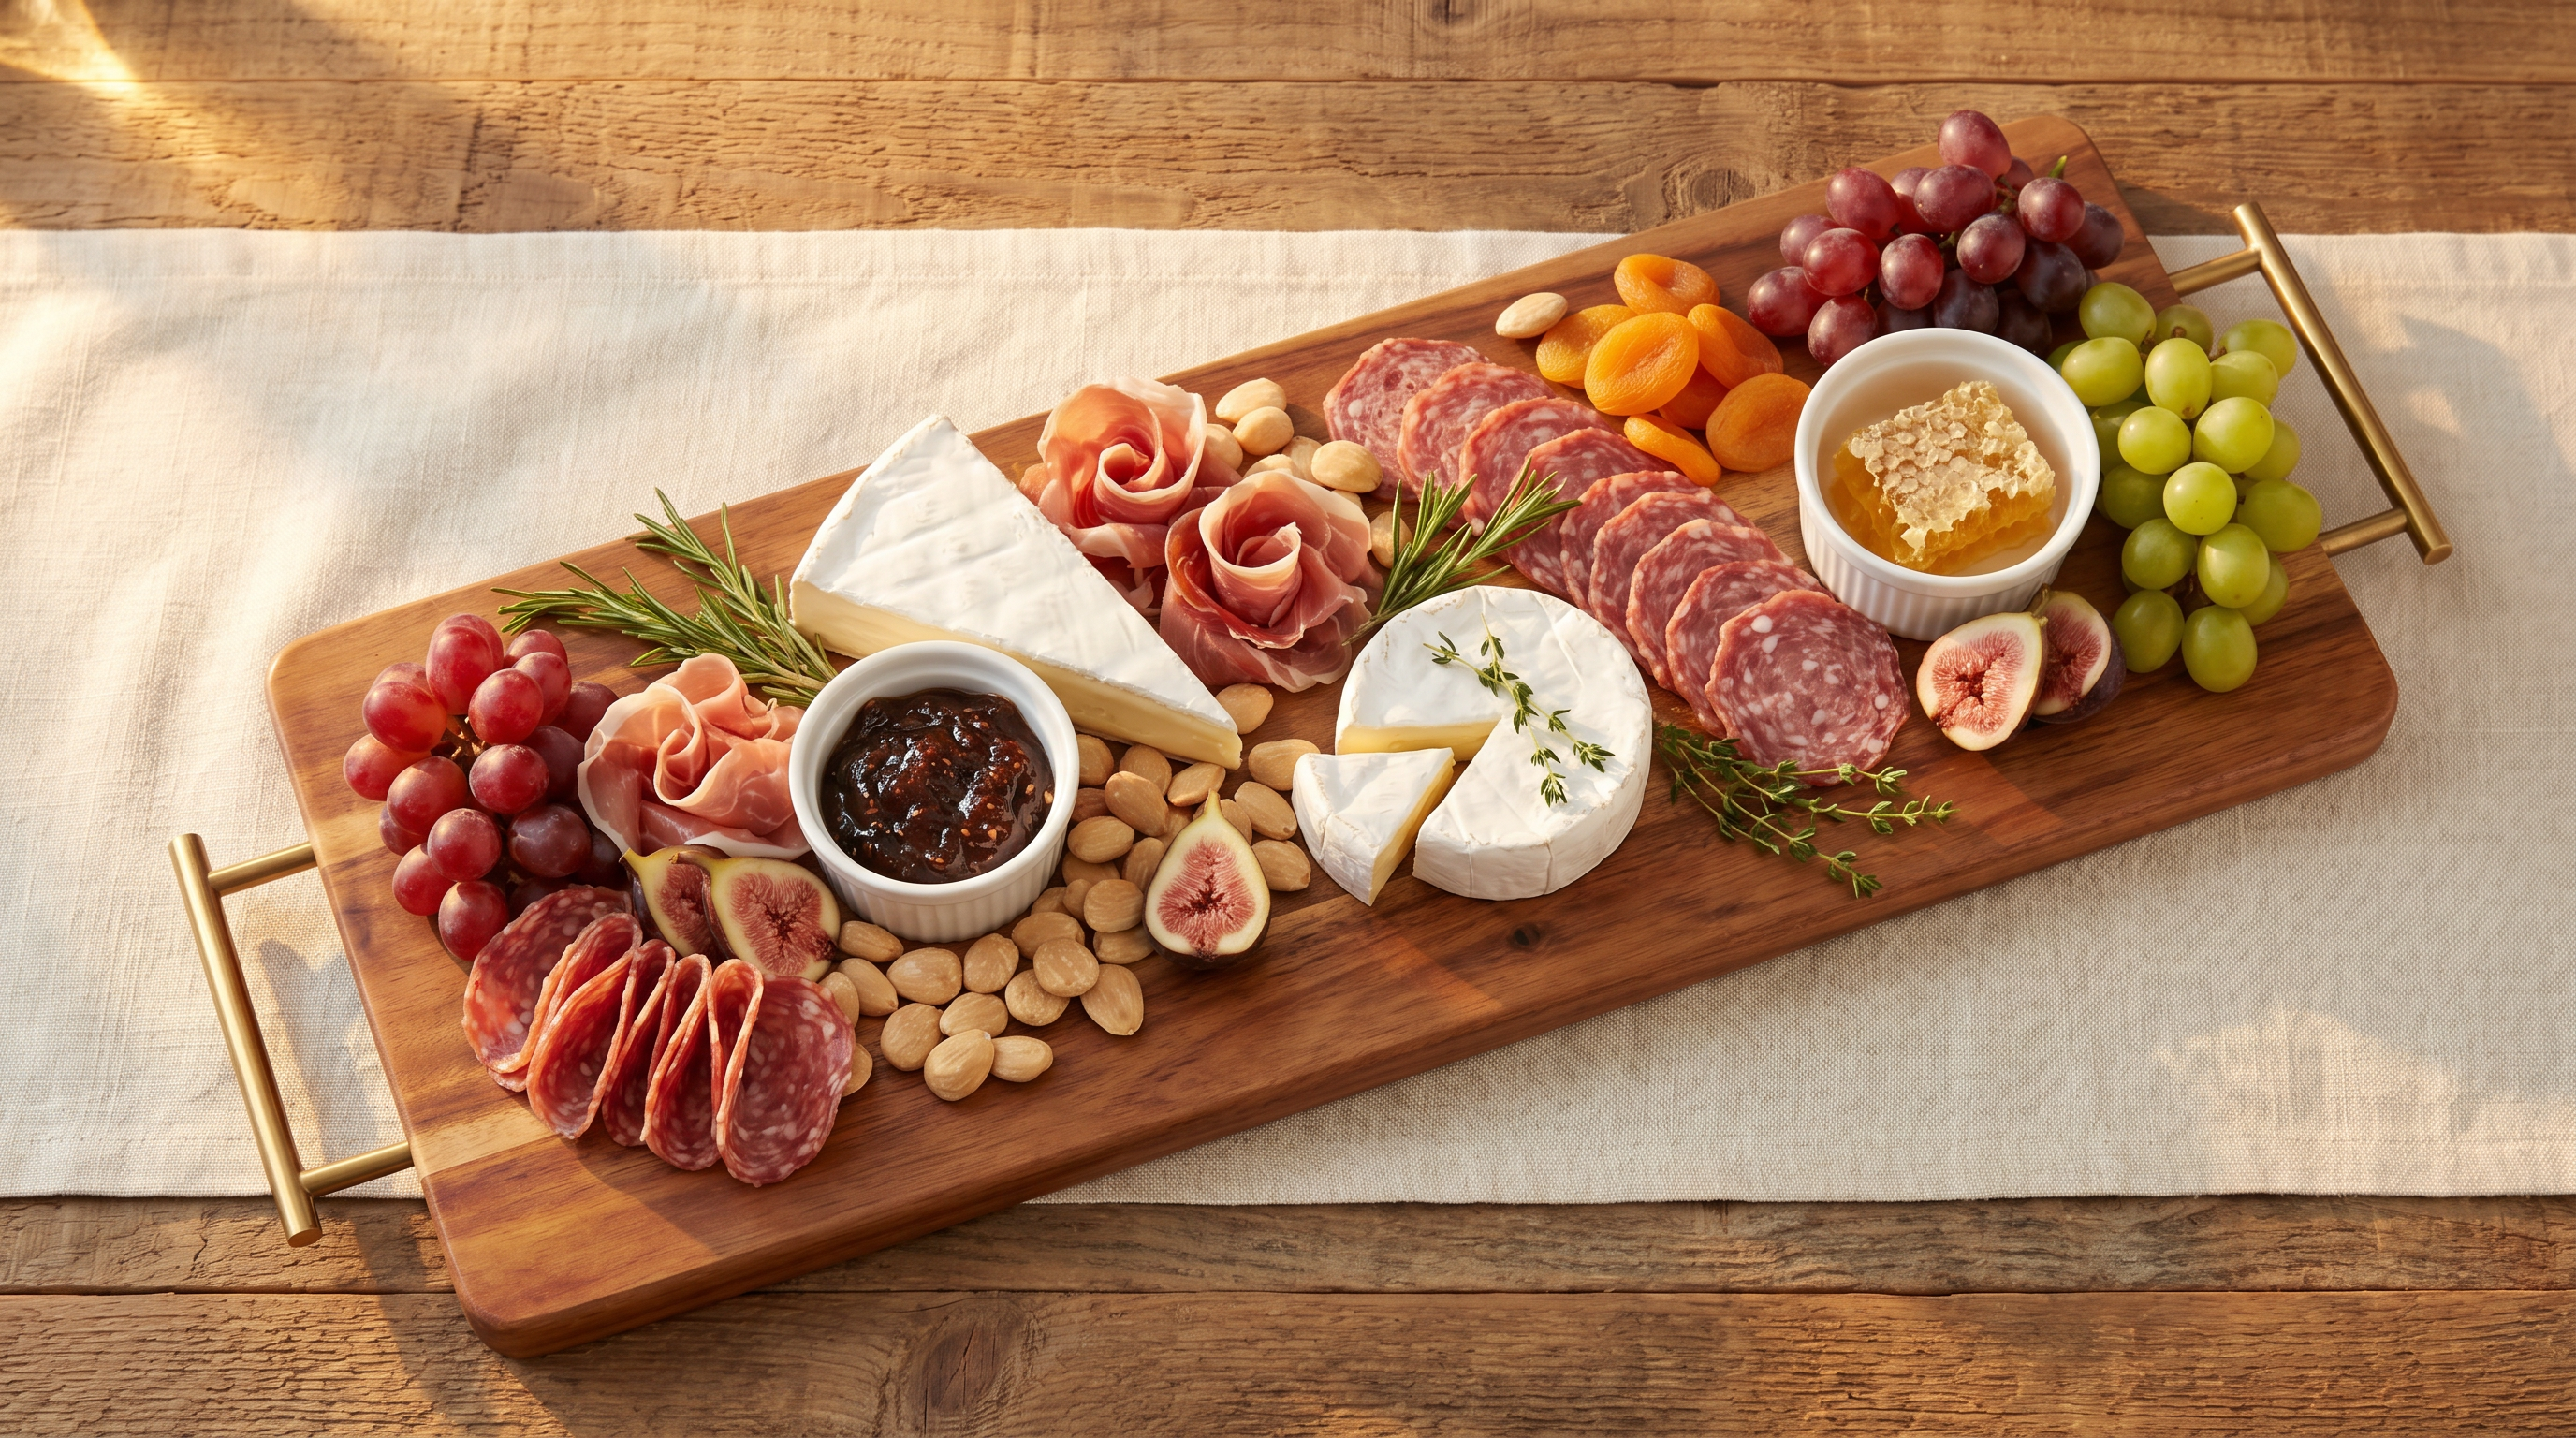
- A long, generous board with a handle. Like our Long Acacia Cutting Board with Handle — the length gives you room to spread out and the handle is a beautiful styling anchor on one end.
- A mixed-material board. Our Personalized Marble & Acacia Cutting Board is the styling cheat code — the marble half keeps soft cheeses cool while creating instant visual contrast. Photographers love it.
If you want to go bigger and more dramatic, the California Shaped Cutting Board with Ocean Epoxy is a true centerpiece — guests will photograph it before they touch the food.
Rule 1: Anchor the Board with Cheeses First
Always start with your cheeses. They’re the largest, heaviest items on the board, and they dictate the rest of the layout.
The math: 2–3 ounces of cheese per person. For a board of six, that’s about 1 to 1¼ pounds total.
The variety rule: pick three cheeses with different textures and intensities:
- Soft and mild — brie, camembert, or burrata
- Semi-hard and nutty — manchego, gruyère, or aged gouda
- Bold or blue — a small wedge of gorgonzola, roquefort, or a sharp aged cheddar
Place each cheese in a different “zone” of the board — opposite corners or thirds — so guests’ eyes naturally travel across the whole thing. Pre-cut a few slices from each wedge so the first guests don’t have to do the awkward “first cut” themselves.
Rule 2: Build “Movement” with Your Meats
Flat slabs of meat look like deli display cases. Folded, ribboned, or piled meats look like food styling.
Three quick techniques the pros use:
- The rosette. Fold a slice of prosciutto loosely into a flower shape. Cluster three or four together — instant visual centerpiece.
- The fan. Lay 6–8 slices of salami in an overlapping arc, like a deck of cards. Works beautifully along a long edge of the board.
- The ribbon. Roll thin meats like coppa or speck into loose curls and tuck them into the gaps between cheeses.
Aim for two to three meats — usually one mild (prosciutto), one spicy (soppressata or chorizo), one rich (saucisson or pâté). Plan on about 2 ounces per person.
Rule 3: Use Small Bowls to Add Height (and Hide Liquid Disasters)
This is the rule that separates beginners from people who do this all the time. Small ceramic ramekins or wood bowls give you two things: vertical interest and a place to put anything wet without it bleeding into the cheese.
Use them for:
- Honey or honeycomb
- Fig jam or quince paste
- Whole-grain mustard
- Olives or cornichons
- Marcona almonds (so they don’t roll everywhere)
Place two to three bowls in different spots on the board before you add anything else. They become structural anchors — the rest of the food fills in around them.
Rule 4: Fill the Gaps in This Specific Order
Once your cheeses, meats, and bowls are in place, you’ll see negative space everywhere. Fill it in this exact order — it’s the difference between “abundant” and “messy”:
- Crackers and bread first. Tuck them in fans against the cheeses, or pile them in a corner. Mix shapes — a long crispbread, a round cracker, a stack of toasted baguette slices.
- Fresh fruit next. Grapes still on the stem (always — never loose), halved figs, sliced apple or pear, fresh berries. Cluster them, don’t scatter.
- Dried fruit and nuts in the smaller remaining gaps. Apricots, dates, marcona almonds, candied pecans.
- Fresh herbs last. Sprigs of rosemary, thyme, or sage tucked into any visible board space. This single step makes the whole board look “styled.”
Resist the urge to leave anything completely empty. A magazine-worthy charcuterie board is full — there’s no bare wood showing in the middle.
Rule 5: Style It Like a Photo, Even if You’re Not Taking One
The boards that look incredible follow a few photographic principles, even when no camera is involved:
- Repeat colors across the board. If you have figs on the left, put grapes on the right. If you have honey in the top corner, put apricots in the bottom corner. The eye loves rhythm.
- Vary heights. Bowls give you tall. Sliced cheese lying flat gives you low. Folded meat rosettes give you medium. Without that variation, the board reads as flat.
- Odd numbers. Three cheeses, three meats, three bowls, three clusters of fruit. Odd numbers feel curated; even numbers feel rigid.
- Leave the handle clean. If your board has a handle, don’t pile food on it. Let it breathe — it’s a styling element on its own.
The Grocery List (For a Board of 6)
If you’re new to this and want a foolproof shopping list, grab:
- 4 oz brie or camembert
- 4 oz manchego or aged gouda
- 3 oz blue cheese or sharp cheddar
- 3 oz prosciutto
- 3 oz salami or soppressata
- 1 baguette + a box of two cracker types
- 1 bunch grapes (on the stem)
- 4 fresh figs or 1 sliced pear
- Small jar of honey or fig jam
- Small jar of whole-grain mustard
- Handful of marcona almonds + dried apricots
- One sprig fresh rosemary
Total: about $45–60 at most grocery stores, and roughly twenty minutes from grocery bag to board.
The Final Touch That Makes Everyone Take a Photo
Once the board is built, drizzle a small amount of honey across one corner — letting it pool slightly on the wood. Add one final sprig of rosemary across the top. Step back, snap a photo with the natural light coming from one side (windows are perfect), and watch the compliments start.
The right wooden board does most of the heavy lifting. The five rules above do the rest.
Every charcuterie-ready board we make at Sierra Fine Decor is hand-finished from solid hardwood in Lincoln, California — built to be the centerpiece of dinner parties for decades. Browse our best sellers →